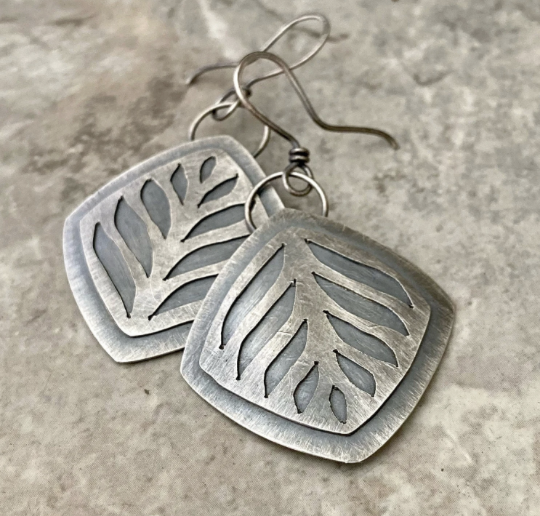
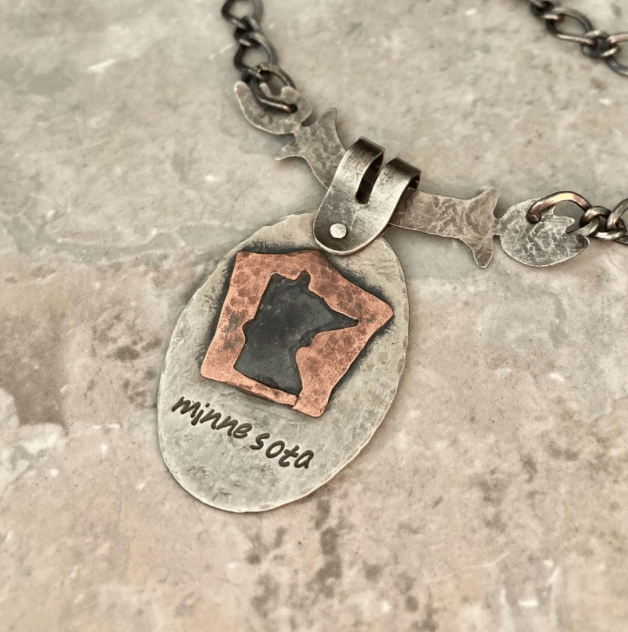
Piercing metal for jewelry involves cutting shapes with a jeweler’s saw to create curves, cutouts, and detailed designs that shears cannot achieve.
Piercing Metal for Jewelry
When cutting jewelry shapes, I generally start with straight metal shears, though curved shears can also be useful. Both tools are quick and easy to use with the thinner gauge metals commonly used in jewelry making.
Sometimes, however, a jeweler’s saw is necessary to cut the metal. This is especially true when working with thicker gauge metal, cutting inside curves, or creating interior spaces where shears cannot reach. In jewelry making, this process is called piercing.
Preparing the Metal
To begin, draw or trace your pattern onto the metal piece. Once the design is in place, cover it with clear tape. Let the tape extend slightly over the edges of the metal so it can be removed easily when you are finished. The tape helps protect the drawing from wearing off while you are sawing.
Using a Jeweler’s Saw
When using your saw, hold it with a gentle, relaxed grip. Move the saw straight up and down, and cut the metal just outside the drawn line. Leaving a small amount of space outside the line allows you to sand or file the edges smooth later.

Piercing Tips
- Practice on scrap pieces to get comfortable with the speed, pressure, and angle of the saw.
- Use a hole punch or drill to create an opening in interior spaces so you can insert the saw blade.
- Go slowly and follow the line carefully to reduce the amount of sanding needed later.
- For sharp corners, saw into the corner from one side, back up, and then approach it from the other side to create a crisp point.
What designs do you have in mind?
