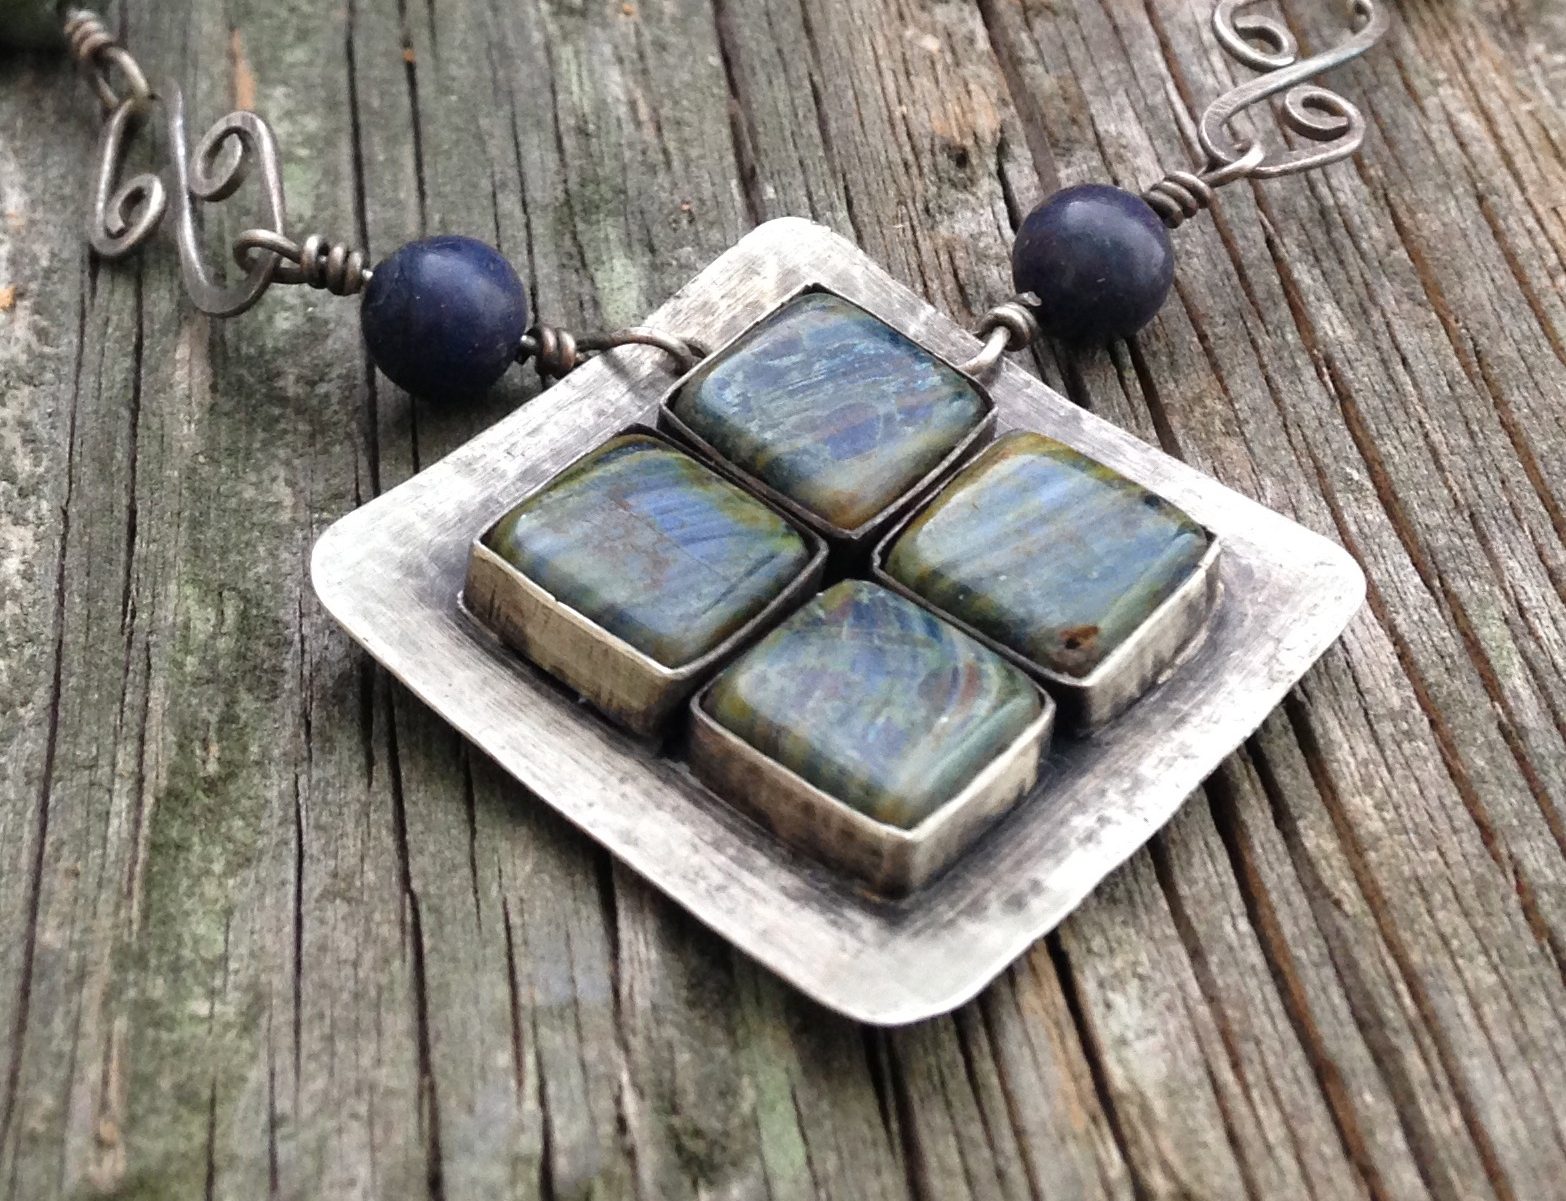
Riveting is one of my favorite jewelry-making techniques. I enjoy every part of the process, from designing a piece to adding the final decorative details. Riveting is relatively easy to learn, requires only a few basic tools, and opens the door to countless creative possibilities.
If you’re new to riveting, there are many excellent online videos and tutorials that explain the fundamentals, including choosing the right wire gauge, matching the hole size, and properly setting a rivet. My preferred method is to punch a 1.25 mm hole using hole punch pliers and use 16-gauge copper wire. A small round file helps fine-tune the fit before assembling the piece.
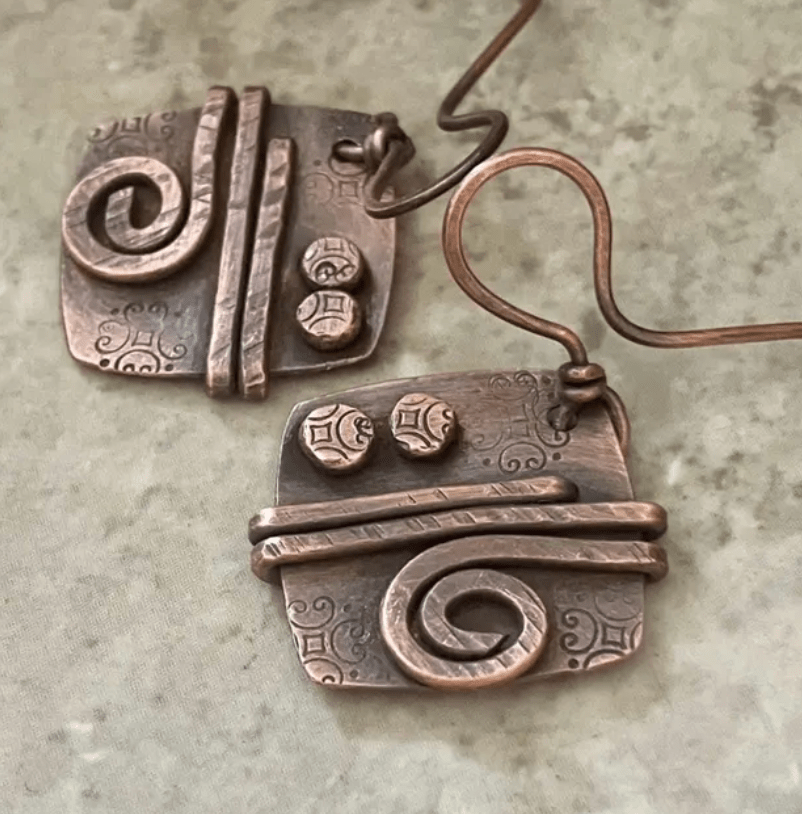
These copper earrings showcase how stamped rivets can become part of the overall design
Decorative Ways to Finish a Rivet
One of the things I love most about riveting is that the rivet itself becomes part of the design. Instead of simply joining two pieces of metal, you can turn each rivet into a decorative element. Some of my favorite finishes include:
- Creating a smooth, polished rivet head with a standard hammer.
- Adding rustic texture with a ball peen hammer.
- Stamping designs into the rivet head using metal stamps (as shown in the first photo).
- Forming rounded rivet heads with a cupped punch.
Each finish gives your handmade jewelry a completely different look, making it easy to match your style.
Creating a Decorative Ball-End Rivet
These earrings use a slightly more advanced ball-end riveting technique
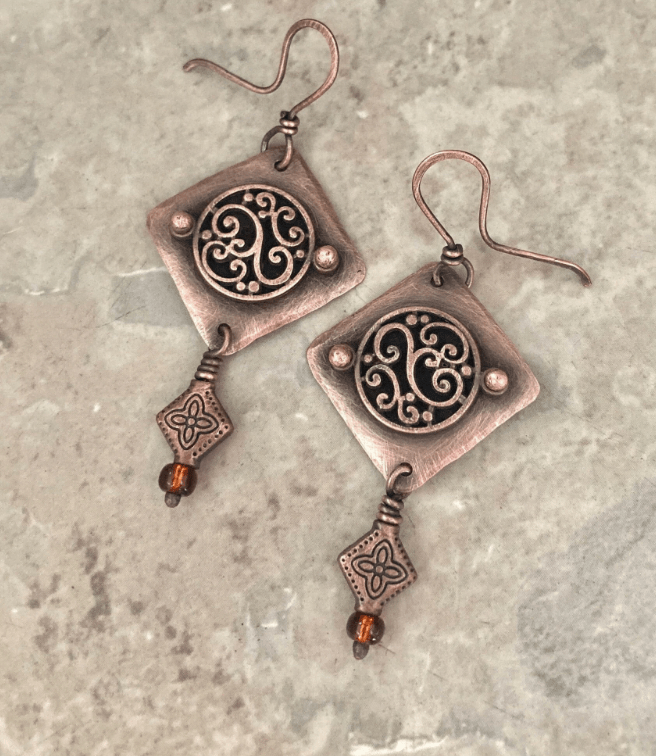
I had a decorative scroll component with holes on both sides that I wanted to attach to a textured copper backing. To preserve a clean, finished look, I first melted one end of the copper wire into a small ball. I then inserted the wire through the scroll piece and the copper backing.
Next, I placed a cupped punch in my vise and rested the balled end of the wire inside the punch. With the piece upside down, I carefully hammered the opposite end until it flattened and secured the rivet. This technique keeps the front of the rivet perfectly rounded while creating a strong mechanical connection on the back.
Riveting Through Beads
I’ve also experimented with riveting through beads, and while the results can be beautiful, this technique requires patience.
I begin by creating either a balled end or a flat end on the rivet wire, depending on the design. The wire is then threaded through the bead and the metal component before being gently peened from the back. Light, controlled taps are essential—too much force can crack the bead. I’ve learned that lesson the hard way!
When everything comes together, though, the finished look is well worth the extra care.
Experiment and Make It Your Own
One of the best things about jewelry riveting is the freedom to experiment. Combine copper with silver, try different wire gauges, create oversized decorative rivets, or add unique textures with stamps and specialty hammers. Small changes can completely transform the finished piece.
Every rivet adds both strength and personality to your jewelry.
What riveting techniques or design ideas are you excited to try next? I’d love to hear what inspires your next project. Happy creating!
 Metaling Susie